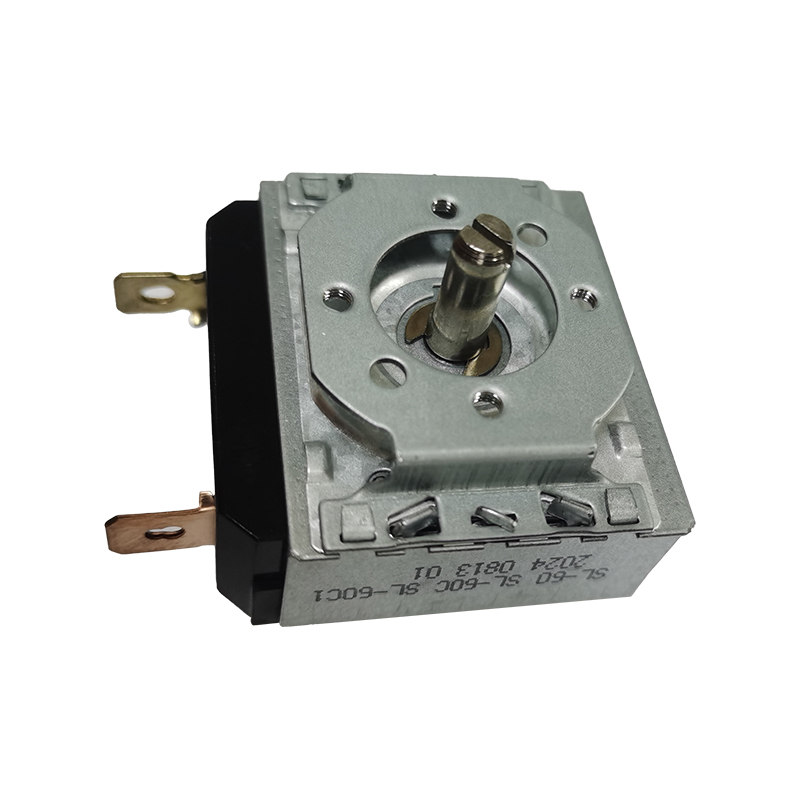
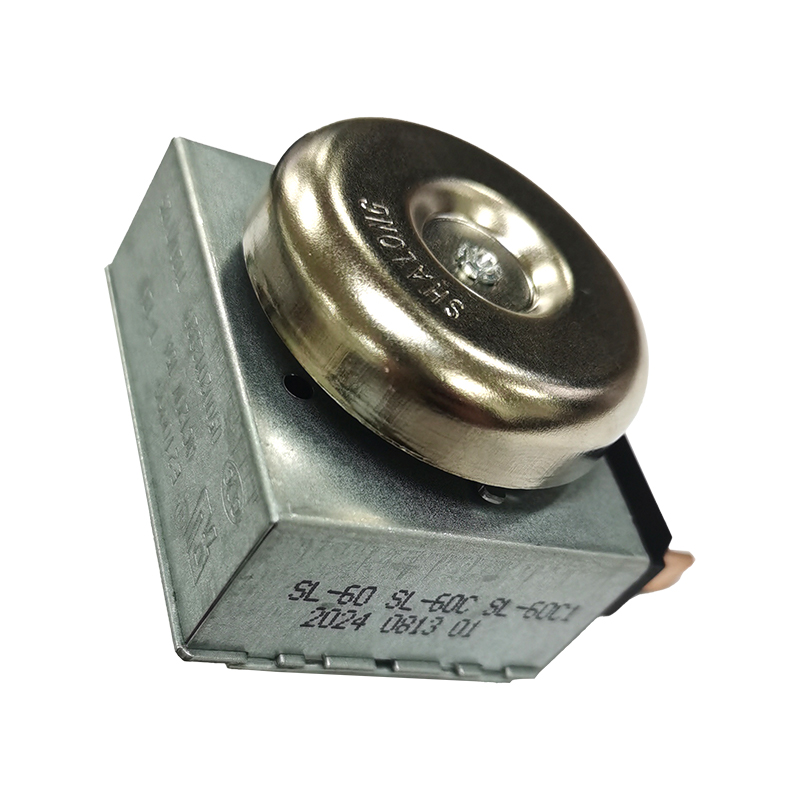
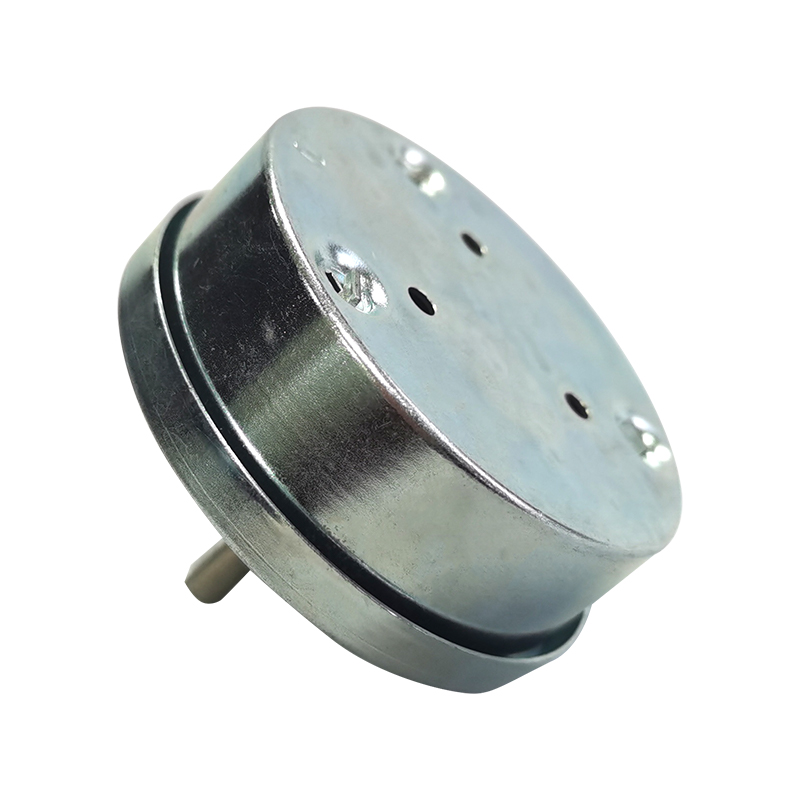
A returned container of air fryers once traced back to a fault that had nothing to do with the heating element. The knob turned to the 60 minute mark, but the contacts opened closer to 43 minutes. The purchasing team had taken a 30 minute mechanical kitchen timer platform and asked for a 60 minute version on the same gear train, so the mainspring lost torque in the last third of the wind. Re-tooling the reduction gear took three weeks and pushed a seasonal launch back by a month.
The lesson is simple. A mechanical kitchen timer is a mechanical assembly, not a component you select from a picture. It contains a mainspring, a reduction gear train, a cam, a set of contacts and, on most models, a bell hammer. Range, shaft geometry, bell option, contact rating and heat tolerance are all locked in at the tooling stage, which means the specification has to be written before the purchase order rather than after the first field complaint.
This guide is written for the people who carry that risk: sourcing managers, mechanical engineers and quality teams at appliance manufacturers, plus importers and wholesalers who buy finished timers for resale into assembly plants. It covers how the mechanism behaves, how to read a specification sheet, where heat causes failures, which certification marks matter for which market, and what to put in a purchase order so that the sample you approve is the part you receive.
A mechanical kitchen timer should be specified against the appliance drawing first and the catalogue second, because range, spring torque, shaft and heat tolerance cannot be changed after tooling without cost and delay.
How a mechanical kitchen timer works inside an appliance
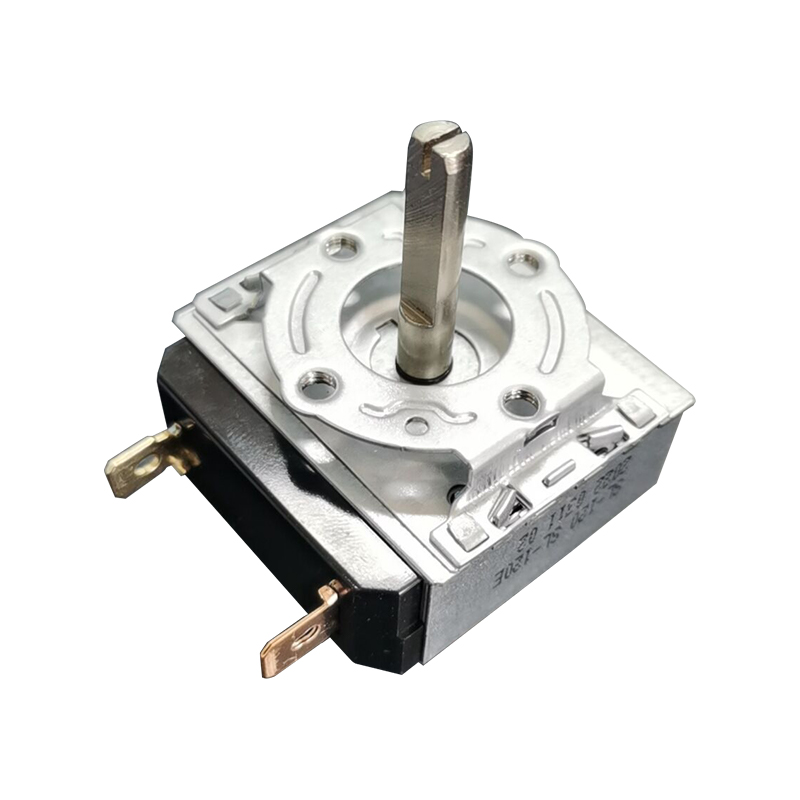
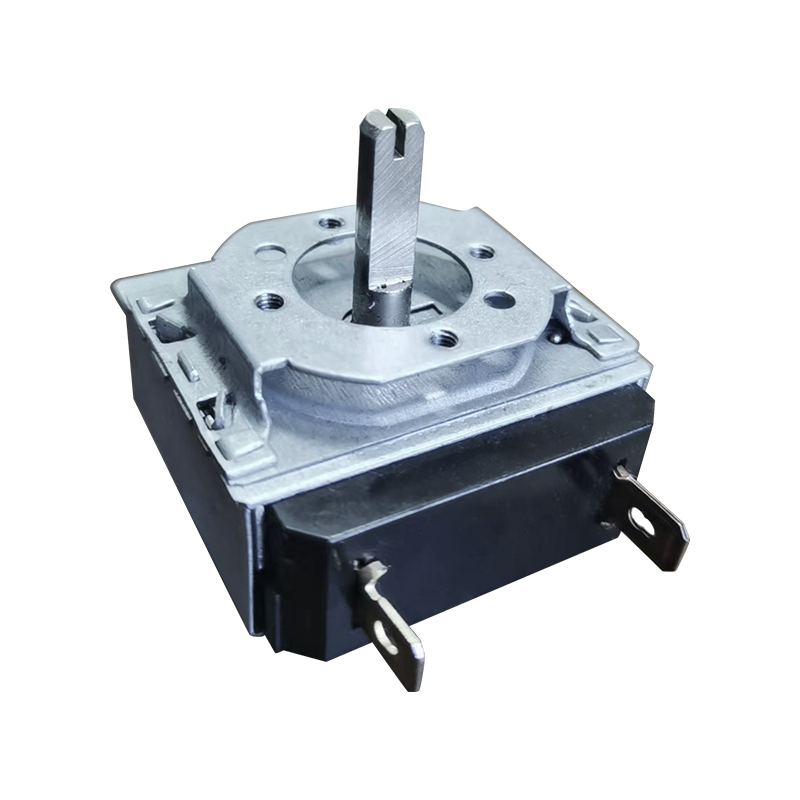
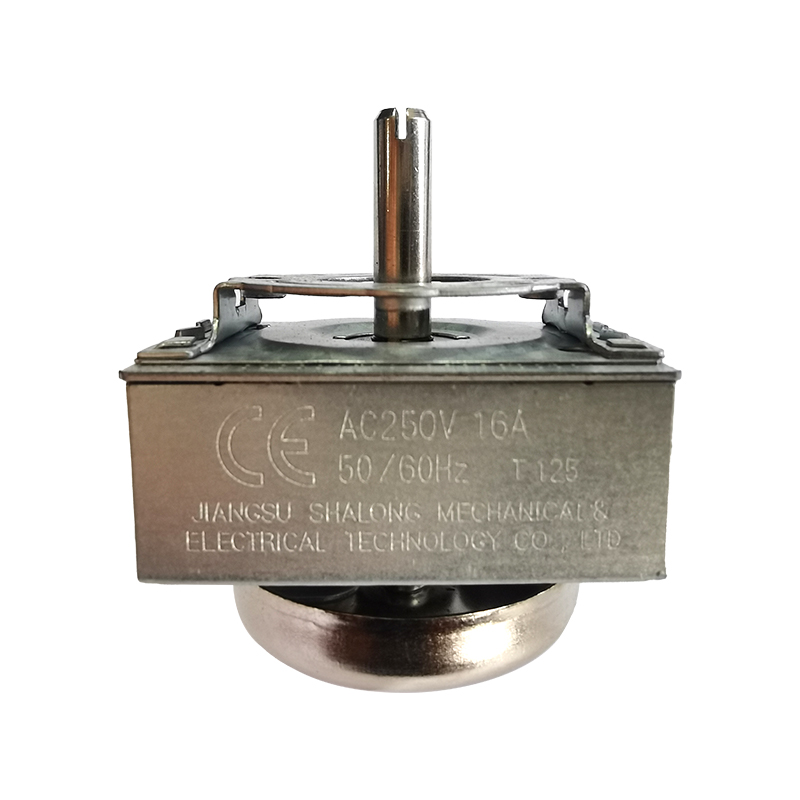
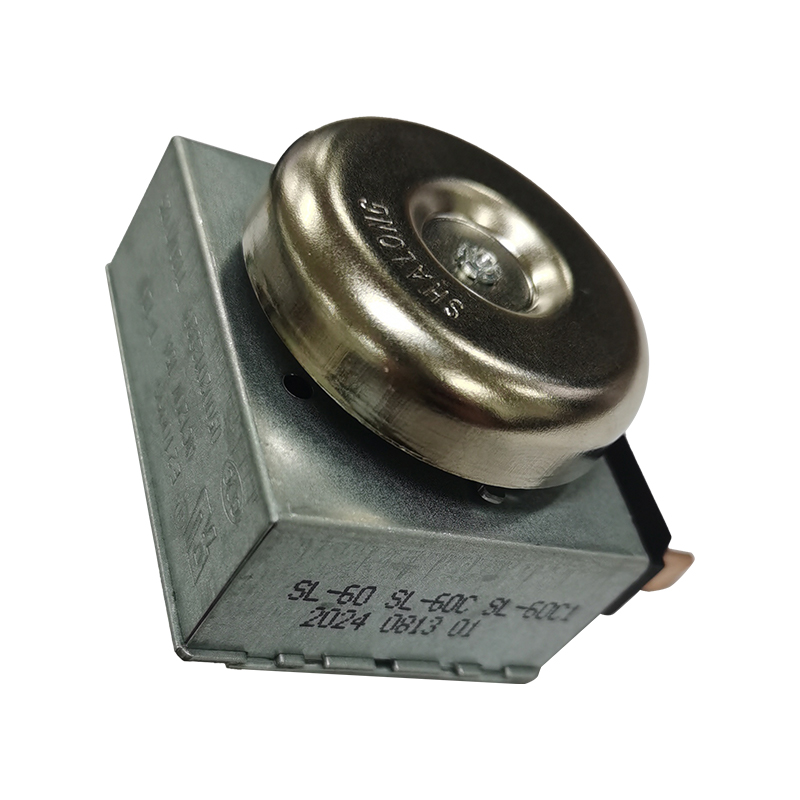
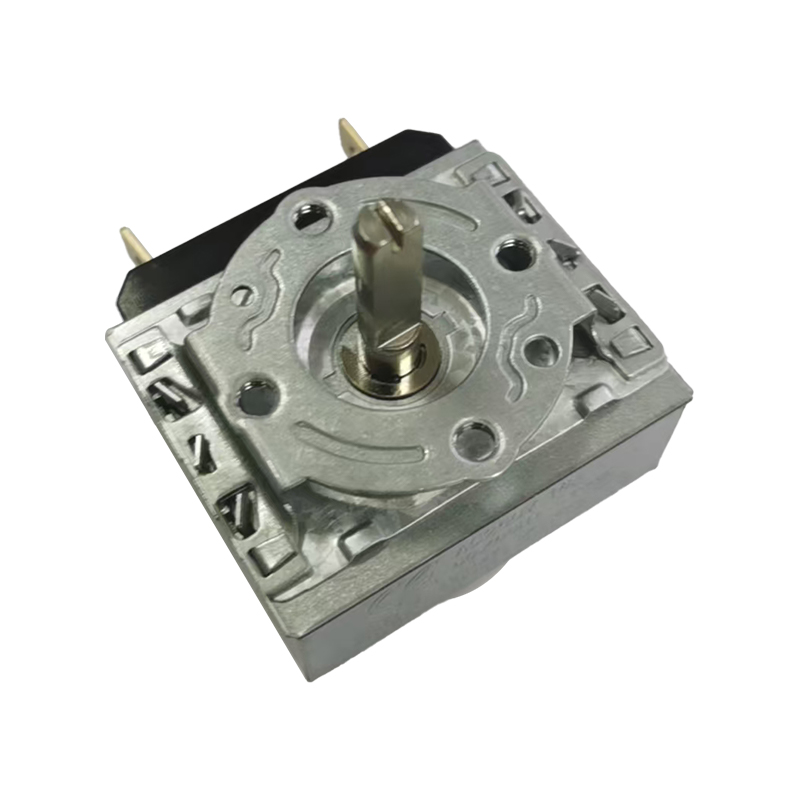
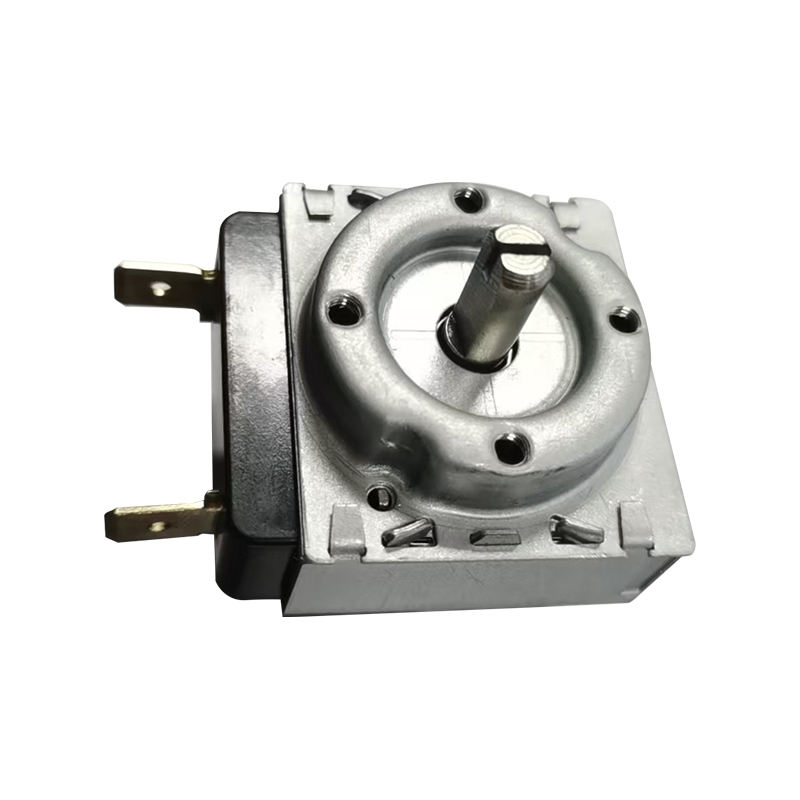
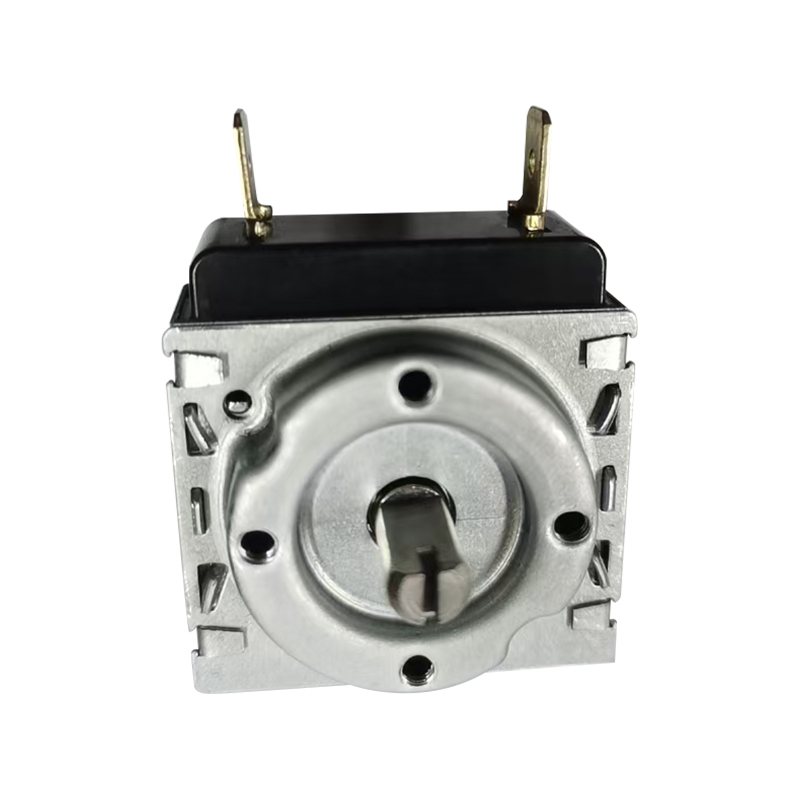
Inside a typical oven or air fryer timer there are five functional groups. The mainspring stores energy when the user turns the knob. The reduction gear train converts fast spring rotation into a slow, controlled output. A self-stepping mechanism advances the cam in fixed increments so the contact opens at a repeatable point instead of drifting with spring tension. The cam and contact set do the electrical work, and the bell hammer, when fitted, strikes a metal gong at the end of the cycle.
That sequence matters commercially. The self-stepping design determines repeatability, the gear train determines how linear the dial feels, and the contact set determines whether the timer can switch a heating element directly or only a relay coil. A buyer who checks only the dial range and the mounting hole will usually be satisfied at the sample stage and disappointed at the one hundred thousand unit stage.
Why appliance designers still specify mechanical
Mechanical timers survive in kitchen appliances for reasons that have little to do with nostalgia.
- No standby power. A mechanical kitchen timer draws nothing when the appliance is plugged in but idle, which matters for markets with strict standby regulations and for buyers chasing a lower energy label.
- No firmware. There is no code to validate, no memory to corrupt and no software change notice when a component is substituted.
- Predictable high-temperature behaviour. Metal gear trains and metal cams tolerate the radiant heat behind an oven door far better than a plastic-bodied electronic module.
- Clear audible feedback. A bell is a real acoustic event, not a buzzer driven by a small piezo element that a user cannot hear over a range hood.
- Simple service. A failed timer is replaced with a screwdriver rather than a board swap.
Where an electronic timer is still the better answer
Mechanical designs are not universal. If the appliance needs multiple cooking stages, a delay start, a keep-warm step or a display that counts down in seconds, an electronic control is the correct choice and no mechanical platform imitates it well. The practical split in most kitchens appliance programmes is this: short single-stage tasks go mechanical, while multi-stage recipes and connected appliances go electronic, often with a mechanical device retained for the safety cut-out.
Comparison of mechanical and electronic timer behaviour in kitchen appliances, based on typical B2B specifications rather than best-case laboratory figures.
| Criteria |
Mechanical timer |
Electronic timer |
| Standby power |
None |
Typically 0.3 to 1 W for the control board |
| Timing tolerance |
Wider, usually quoted as a percentage of full scale |
Tighter, usually quoted in seconds |
| Behaviour near oven heat |
Stable when the mechanism is metal |
Requires thermal separation and derating |
| Multi-stage programmes |
Not possible |
Standard |
| Audible end signal |
Mechanical bell, loud and distinctive |
Buzzer or speaker, depends on the driver |
| Failure mode |
Gradual drift, weak bell, stiff knob |
Sudden, often board level |
| Tooling change cost |
Concentrated in gears, cams and shafts |
Concentrated in firmware and PCB |
The choice between mechanical and electronic is a programme decision rather than a price decision; a mechanical kitchen timer wins when the cooking task is single stage and the environment is hot.
Building a specification sheet that survives the first audit
Most disputes between an appliance manufacturer and a timer supplier start with a specification that describes the part in one line. A description such as "60 minute timer with bell" leaves at least ten variables open, and every one of them can be resolved differently by two honest factories. The checklist below is the minimum we would expect to see on a drawing before a sample is built.
Minimum parameters for a mechanical kitchen timer drawing, with the commercial risk attached to each one when it is left undefined.
| Parameter |
Typical values |
Risk when unspecified |
| Timing range |
15, 30, 60, 90, 120, 160 or 180 minutes |
Too wide a range feels imprecise; too narrow forces users to re-set mid-cook |
| Bell option |
With bell or without bell |
Adds a hammer and gong, changing height and acoustics |
| Shaft geometry |
Length, diameter, flat or knurled end |
Shaft mismatch stops the assembly line on day one |
| Mounting method |
Two screws, snap-in, panel nut |
Fixing torque can distort the gear plate and shift timing |
| Contact rating |
Resistive or inductive load, amps and volts |
Welded contacts appear only under real loads |
| Heat resistance |
Ambient and radiant temperature limits |
A unit rated for 60 C ambient may face 110 C at the door |
| Certification |
UL, CE, TUV, DKJ as applicable |
The mark must match the end market, not the factory address |
| Life expectancy |
Number of full cycles |
10,000 cycles is common; some programmes require more |
| Rotation direction |
Clockwise or counter-clockwise to increase |
A reversed dial fails usability testing and generates complaints |
| Terminal type |
6.3 mm spade, PCB pin, flying lead |
Wrong terminal delays the pilot run by weeks |
The three numbers that cause the most arguments
Timing tolerance, reset behaviour and over-travel. Tolerance is usually expressed as a percentage of full scale, so a 60 minute timer and a 180 minute timer with the same percentage behave very differently in absolute minutes. Reset behaviour describes what happens when a user turns the knob back to zero by hand instead of letting the spring run down, and a mechanism that was not designed for manual reset will wear its cam edge. Over-travel is how far past the maximum mark the knob can be forced, and a generous allowance protects the spring from impatient users while costing dial accuracy near the top of the range.
Write tolerance as an absolute number of minutes at the working point, not only as a percentage of full scale, so the factory and the test lab are measuring the same thing.
How timer ranges map to real cooking programmes
Cooking programmes and timer ranges are usually decided together, because the dial has to cover the longest realistic task without turning a full revolution into a guess. The chart below summarises the upper ranges that appear most often across kitchen appliance categories in current production.
Upper timer range by kitchen appliance category
Egg cooker and small steamer, 15 min
Oven and free-standing cooker, 60 to 90 min
Pressure cooker and sterilizer, 100 to 120 min
Multi-tier electric steamer, 180 min
The pattern is not arbitrary. Egg cookers and small steamers finish in under fifteen minutes, so a 15 minute dial gives useful resolution across the whole sweep. Air fryers usually need 30 to 60 minutes, which is why the 30 to 60 minute platform is the most frequent request we receive from air fryer programmes. Ovens sit at 60 or 90 minutes for baking and roasting, pressure cookers and some sterilizers need 100 to 120 minutes, and large electric steamers can run to 180 minutes.
For a buyer, the practical consequence is that one appliance family usually needs two or three timer variants rather than one. A supplier with a 15 minute, a 30 to 60 minute, a 60 to 90 minute and a 180 minute platform can cover most of a kitchen appliance catalogue from a small number of gear trains, which reduces tooling cost and shortens qualification. It also makes a second-source discussion easier, because the drawings stay comparable across programmes.
Where a programme needs an unusual range, such as a 160 minute high-temperature model, the question to ask is whether the range comes from a dedicated gear train or from a modified stop on an existing one. Dedicated tooling gives better linearity across the dial, while a modified stop is cheaper but concentrates wear at the end of travel, which tends to show up as premature tripping after a year or two in the field.
Choose the narrowest range that covers the longest realistic cooking task, then confirm that the gear train is dedicated to that range instead of adapted from a shorter one.
Matching the timer to the appliance, category by category
Every appliance category carries its own combination of heat, load and user behaviour, and the same 60 minute mechanism can be right for one application and wrong for another. The notes below follow the categories that appear most often in B2B enquiries from appliance manufacturers and importers.
Ovens and free-standing cookers
An oven timer sits in the hottest zone of the appliance, close to the door glass and the cavity wall, so the mechanism has to be built around metal. A 60 minute round timer for free-standing ovens typically combines a metal gear plate, a shaft long enough to clear the control panel and a bell that can be heard from another room. Where the oven already has an electronic main control, the mechanical timer often serves as a secondary reminder rather than the primary cut-out, which changes the contact rating requirement considerably.
 60-Minute Round Mechanical Timer for Free-Standing OvensA 60-minute round mechanical timer with bell for free-standing ovens, useful where a secondary mechanical reminder complements an electronic main control.View Product →
For built-in ovens with a 90 minute baking programme, the more usual request is a 60 or 90 minute unit without a bell, because the end of the cycle is announced by the main control. Both configurations can exist on the same platform, and the choice should be made from the user interface map of the appliance rather than from cost alone.
Air fryers
Air fryer timers live in a smaller housing, see rapid temperature swings and are turned by users who are often cooking in a hurry. The 30 to 60 minute range with a bell is the mainstream specification, and the mechanical advantage over an electronic control is that the appliance can be sold without a display board at all. Contact rating deserves attention here, because some air fryer designs switch the heating element directly through the timer contacts rather than through a relay.
 SL 30/60-Minute Metal Mechanical Timer for Air FryersA metal mechanical timer with bell for air fryers, with 30/60-minute settings and stated 120V/250V 15A contact capacity for design review.View Product →
Two details separate a good air fryer timer from an average one: how the knob feels at the top of the range, and whether the bell still rings clearly after a few thousand cycles at high ambient temperature. Both are testable before mass production and both belong in the approval report.
Electric steamers, egg cookers and steam appliances
Steam appliances run long programmes at high humidity. A 180 minute timer with a bell is a common request for multi-tier electric steamers, while a 15 minute unit without a bell suits egg cookers where the cooking window is short and the appliance is price sensitive. Humidity is the variable discussed least and matters most, because condensate finds its way into the shaft bush and changes the friction that the spring has to overcome.
 SL 180-Minute Metal Mechanical Timer for Electric SteamersA 180-minute metal mechanical timer with bell for electric steamers, suited to longer steam programmes where humidity and shaft sealing deserve attention.View Product →
Shaft sealing, bush material and the clearance between knob and panel do more for long-term reliability in steam than any change to the gear ratio, and they are usually cheaper to fix at the design stage than at the service stage.
Pressure cookers, disinfection cabinets and sterilizers
These appliances combine heat with a safety expectation. A pressure cooker timer is often a 100 or 120 minute unit that has to hold its setting under vibration, while disinfection cabinets use 30 or 60 minute mechanisms where timing accuracy matters less than the durability of the contact under repeated cycling. Sterilizers add a third requirement, because the timer may be expected to keep reasonable accuracy while the chamber is hot, which is a question of materials and lubrication as much as of gear design.
Medical and special-purpose equipment
Timers for medical devices and laboratory equipment sit outside the kitchen but use the same mechanical logic. A 5 to 15 minute unit with CE and UL marks is a typical request, and the difference from a kitchen timer lies mostly in documentation and consistency: the same model number must behave the same way across production lots, and the change notification process has to be strict enough to satisfy an audit.
Match the timer to the heat map of the appliance and to user behaviour before matching it to the price target, because a cheaper mechanism that drifts at 90 C costs more in returns than it saves in unit price.
Heat is the variable that decides most field failures
When a mechanical kitchen timer comes back from the field, the complaint is usually phrased as "the timer is inaccurate" or "the bell stopped working". The physical cause is nearly always thermal. A spring loses torque as temperature rises, a plastic gear deforms and changes the centre distance, grease migrates away from the loaded surfaces, and a cam edge wears faster once the friction it was designed around has changed.
The industry answer is a metal mechanism. Metal gear plates, metal cams and metal internal levers hold their geometry when the appliance soaks at temperature, and they allow the use of lubricants that stay in place across a wider band. The trade-off is cost and a slightly different acoustic signature, which is why some low-cost appliances still use a partly plastic train. The right question for a buyer is not "is it metal" but "which parts are metal and at what temperature was the assembly qualified".
Testing at temperature is where specifications become honest. A timer that is accurate at 25 C and never tested above 60 C tells you nothing about an oven door that reaches 110 C during a self-clean cycle. Suppliers who publish a high-temperature claim should be able to describe the soak time, the number of cycles and the acceptance limit used in their own validation. For a closer look at how accuracy holds up in a hot, humid chamber, the sterilizer timer accuracy study is a useful reference point.
Common failure modes in kitchen appliance timers, the conditions that trigger them and the specification change that prevents them.
| Failure mode |
Trigger |
Prevention |
| Torque loss and short timing |
Long soak near an oven cavity |
Metal mainspring, correct pre-tension, cycle test at temperature |
| Gear deformation |
Plastic train in a hot zone |
Metal gear plate with controlled centre distance |
| Contact welding |
Direct switching of a heating load |
Contact rating above the real load, relay for high current |
| Weak or silent bell |
Hammer arm bent during assembly |
Assembly fixture plus acoustic check on the line |
| Stiff knob |
Condensate or migrated grease |
Sealed bush and a lubricant rated for the range |
| Early tripping |
Cam wear at the over-travel stop |
Over-travel limit written into the drawing |
What to ask about temperature validation
- At what ambient and radiant temperature was this model qualified?
- How many cycles were run at that temperature, and at what interval?
- What acceptance limit was applied to timing drift across the run?
- Which lubricant is used, and does its datasheet cover the full temperature range?
- Was the bell checked before and after the soak?
Ask for the qualification temperature and the cycle count together; a heat claim without a cycle count is a marketing sentence, not a specification.
Certification decides which markets you can ship to
Certification marks on a timer are not decoration. They tell the appliance maker which end markets the part can be used for, and they carry documentation obligations that follow the part through its life. The marks that appear most often on mechanical kitchen timer documentation are UL, CE, TUV and DKJ, and each one answers a different question.
Certification marks commonly listed on mechanical timer documentation and the check a buyer should perform on each.
| Mark |
What it usually covers |
What to check |
| UL |
North American safety requirements for the component or the appliance |
File reference, and whether the scope covers the exact model |
| CE |
European conformity, with the applicable directive cited |
Declaration of conformity and the test report behind it |
| TUV |
Third-party testing, often used to support a CE claim |
Certificate scope and validity date |
| DKJ |
A mark referenced in the supplier's own product documentation |
Ask for the certificate and its scope before it goes on the drawing |
Documentation a purchase order should request
- Certificate copies with scope and validity dates.
- Material declarations for contact and housing materials.
- RoHS and REACH statements where the destination market requires them.
- A change notification clause covering spring, contact and lubricant substitutions.
- Marking rules: where the model number and date code appear on the body.
List the certification marks and their certificate numbers directly on the drawing, because a mark that cannot be traced to a model number will not survive an audit.
Quality checks worth writing into the purchase order
Incoming inspection at the appliance plant is usually limited to a sample check of appearance, rotation feel and end-of-cycle contact. That catches shipping damage and gross assembly errors, and it is nowhere near enough to predict field behaviour. The checks below are the ones that have most often explained the difference between a clean pilot lot and a problematic mass production lot.
A sample inspection plan that is practical to run
- Timing accuracy at three points across the dial, at room temperature.
- Timing accuracy at the declared maximum temperature, after a soak.
- Contact resistance before and after 1,000 cycles.
- End-of-cycle contact opening, measured with the rated load rather than a signal lamp.
- Bell sound pressure at one metre, before and after the life run.
- Knob torque at the start, middle and end of the wind.
- Dimensional check of shaft length, flat position and mounting holes.
- Humidity or salt spray exposure where the destination market is coastal.
Two of these carry more weight than the rest in our experience: contact resistance after cycling, and knob torque at the end of the wind. Contact resistance shows whether the contact material and the wiping action suit the load, and end-of-wind torque is the earliest visible sign that a spring or gear train is marginal for the range it is being asked to cover.
Test the contact under the real load and the knob at the end of the wind; those two measurements predict most of the failures that appear after six months in the field.
Choosing a manufacturer rather than a part number
There are three kinds of source in this category: the factory that designs and tools its own mechanism, the assembler that buys sub-assemblies and puts its name on the box, and the trading company or wholesaler that quotes from a catalogue. All three can deliver a working sample. Only the first can explain why timing drifts at 100 C and what will change in the gear train to fix it.
Questions that separate them quickly:
- Do you make your own gears, cams and stamping tools, or buy them in?
- How many models are in current production, and how many of them share one gear train?
- What is the change notification process for spring, contact and lubricant?
- Which appliance programmes have qualified this model, and for how many years?
- Can you show the in-house equipment used for life and temperature testing?
- Who calibrates the end-of-line timing check, and how often?
Scale matters less than depth here. A manufacturer with a broad platform and a narrow set of proven gear trains is usually easier to work with than one that offers a hundred variations built from adapted parts, because the proven platform comes with a history of field data. Factory floor area, headcount and tooling capability are useful indicators, but the decisive question is whether the engineering team can describe the failure modes of its own design without reading from a brochure.
For a first order, a factory visit or a video audit of the assembly and test areas is worth more than a third-party report. Watch how the timer is calibrated at the end of the line, and ask what happens to units that fall outside the tolerance band. The answer tells you whether tolerances are real or cosmetic, and it usually predicts how the next three shipments will go.
Ask the supplier to explain one failure mode in detail; a factory that understands its own mechanism answers with temperatures, cycle counts and material names.
Order mechanics: MOQ, lead time, packing and documentation
Once the specification is settled, the commercial conversation becomes predictable. Mechanical timer orders are usually quoted with a minimum order quantity per model rather than per order, because each model needs its own calibration set-up at the end of the line. Lead time then depends on whether the model is in regular production or needs a tooling run.
- MOQ per model, and whether mixed models can be combined to reach a volume tier.
- Sample lead time quoted separately from mass production lead time.
- Calibration records per lot, and whether they travel with the shipment.
- Packaging: bulk carton, tray or individual bag, plus the drop test standard.
- Marking: model number, date code and certification marks on body or label.
- Documentation: certificate copies, material declarations, inspection reports.
- Warranty terms and the agreed failure rate at which a claim is accepted.
Two clauses are worth adding to any first order. The first fixes the sampling plan and the acceptance criteria so that a rejected lot has a defined outcome. The second fixes the notification period for any process change, including a change of lubricant supplier, because a lubricant substitution can move timing behaviour without changing a single dimension on the drawing.
Define the sampling plan and the change notification period in the first purchase order; both are cheap to negotiate before the order and expensive to argue about afterwards.
Frequently asked questions about mechanical kitchen timers
What is a mechanical kitchen timer?
A mechanical kitchen timer is a spring-driven device that counts down a set interval and then opens an electrical contact, rings a bell or does both. It needs no battery and no standby power, and its behaviour is set by the gear train, cam and spring inside the housing.
Is a mechanical kitchen timer more accurate than a digital one?
No. A digital timer is more accurate in absolute terms. A mechanical kitchen timer is chosen for other reasons: no standby power, tolerance of high temperature, no firmware and a loud mechanical bell. Its accuracy is adequate for cooking, typically quoted as a percentage of full scale, and it stays stable over time when the mechanism is metal.
Which range should I pick for an air fryer?
30 to 60 minutes covers most air fryer recipes and is the range most buyers request. A shorter range gives better resolution but forces users to re-set during longer cooks, while a longer range makes the dial feel imprecise for a fifteen minute task.
Do I need a timer with a bell?
It depends on how the appliance signals the end of cooking. If there is no display or buzzer, the bell is the only end signal and should be specified. If the appliance has an electronic control, a version without a bell is usually sufficient and saves height and cost.
Can a mechanical timer be used inside an oven cavity?
It is normally used on an oven control panel, which is a hot location but not the cavity itself. Components placed inside the cavity need a different design approach. For panel mounting, confirm the qualification temperature and the cycle count at that temperature, and check that knob and shaft materials match the expected panel temperature.
What do the UL, CE, TUV and DKJ marks mean on a timer?
They indicate that the model has been assessed against certain safety or conformity requirements, usually for a defined scope. The practical step for a buyer is to request the certificate, check that the model number matches the drawing, and confirm the certificate is still valid for the market you ship to.
What is a typical minimum order quantity?
It varies with model and tooling status. Models in regular production usually carry a lower MOQ than models that need a dedicated gear train or a new shaft. Ask for the MOQ per model and per order, because mixed shipments are often treated differently.
How should I test samples before mass production?
Run timing accuracy at three dial points, repeat the test at the declared maximum temperature, cycle the contact under the rated load, and listen to the bell before and after the life run. Keep the samples and the records, because they become the reference when a later lot is questioned.
Can the shaft, knob and terminals be customised?
Usually yes, within the limits of the existing gear plate and housing. Shaft length, flat position, terminal type and knob colour are the common customisations. A change that affects the gear train or the spring is a new platform rather than a customisation, and should be treated as a tooling project with its own validation.
What causes a mechanical kitchen timer to fail early?
Heat, load and assembly. Heat changes spring torque and gear geometry, an undersized contact rating welds the contacts under a heating load, and assembly fixtures that bend the bell hammer cause a weak ring. Specifying the temperature, the load and the acoustic check removes most of that risk.
Most early failures can be traced to one of three specification gaps: an unstated temperature, an unstated load, or an unstated acoustic requirement.
Putting the specification before the price
Buying a mechanical kitchen timer well is mostly a documentation exercise. The mechanism is mature, the ranges are well understood, and the difference between a part that lasts ten years and one that drifts after six months is almost always visible on the drawing: the temperature it was qualified at, the load the contact was rated for, the certificate that covers the exact model, and the sampling plan that decides what happens when a lot is rejected.
Buyers who get those four items right usually find the commercial side straightforward. Buyers who skip them tend to meet the same problems twice, once at the pilot run and once in the field, and the second meeting is always more expensive than the first.
Discuss a timer programme with the factory
If you are working on an oven, air fryer, steamer or sterilizer programme and need a range, bell option or shaft geometry that is not yet on your drawing, send the requirement through the contact channel and ask for the qualification data that goes with the model you are considering.
A timer that is specified properly at the drawing stage rarely needs to be discussed again until the next programme, which is the cheapest outcome available to any buyer.



 English
 中文简体