 English
 中文简体
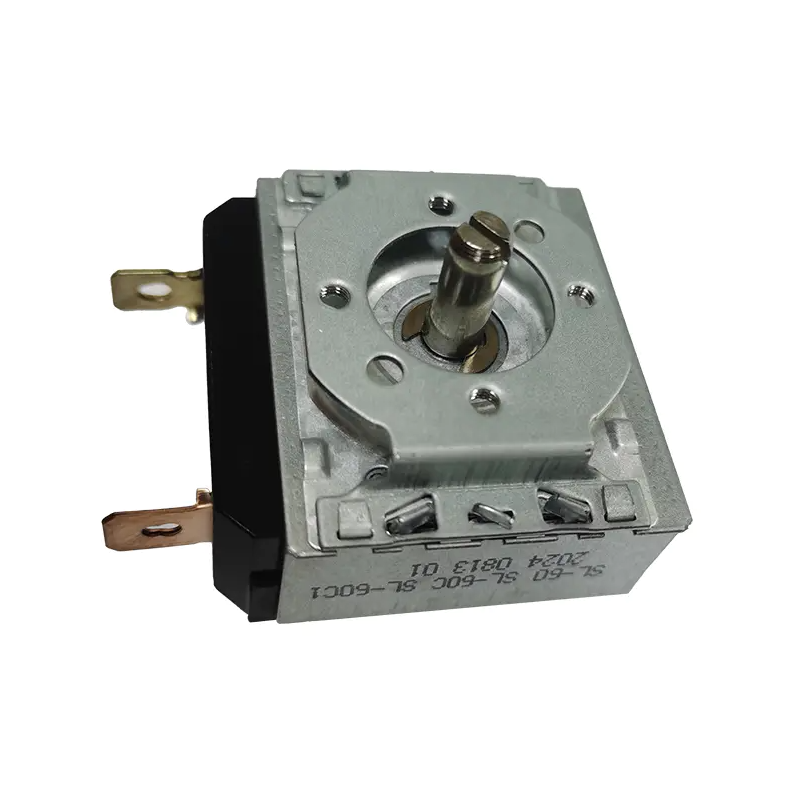
中文简体Metal mechanical timer by manual SL 1-120min CE
Cat:SL-X series regular timer
Time setting: 15', 20', 30', 60', 100',120', 180' or customized (1-180min timer range)Applicable: Microwave/Oven/Electric Pressure Cooker/Kitchen Mach...
See Details

When your mechanical timer starts keeping inaccurate time or completely malfunctions, you may need to consider replacing it. Don't worry, this seemingly complicated task can actually be easily completed by even a beginner, provided you have the right tools and follow the correct steps.
Content
Safety is always the top priority when performing any electrical repairs.
Disconnect the Power (Mandatory): Locate the circuit switch connected to the timer and completely turn it off. Use a test pen to confirm that the power is completely disconnected; this is a crucial step for your safety.
Tools to Prepare:
The removal process requires patience and care.
Remove the timer housing: Use a screwdriver to unscrew the screws securing the timer panel to the wall or distribution box. Carefully remove the housing to expose the internal wiring terminals.
Take a photo of the wiring diagram: This is the most important step! Before disconnecting any wires, take clear photos with your phone, noting which terminal each wire (e.g., live wire L, neutral wire N, load wire Out) connects to on the old timer.
Disconnect the wires: Use a screwdriver to loosen the screws on the terminals and carefully remove the wires one by one. If the wire markings are not clear, use insulating tape to make temporary marks. Ensure that the wire ends do not touch any conductive objects.
Remove the old device: Unscrew the screws securing the old mechanical timer body and remove it from its mounting position.
Installing the new mechanical timer is the core of the entire process.
Install the new timer body: Place the new timer in the mounting position of the old timer and secure it firmly with screws.
Wire according to the old diagram: Begin connecting the wires according to the photos you took earlier or the wiring diagram that came with the new timer. Connect the live wire (L) to the input terminal.
Connect the neutral wire (N) to the neutral terminal.
Connect the load wire (Out) to the output terminal (the wire that controls the operation of the appliance).
Tighten the terminal screws: Ensure that each wire is securely fixed to its corresponding terminal, with no looseness or excessive exposed metal parts.
Testing and Restoration: After carefully checking that all wiring is correct, turn the circuit switch back on and observe whether the new timer lights up or operates normally. After confirming that it functions correctly, turn off the power and reassemble the timer housing.
Understanding how to select a timer is crucial before replacing it.
Load Capacity: Check the maximum rated current/power of the new timer (e.g., 16A/3500W) to ensure that it is greater than the power of the appliance you are connecting. This is key to ensuring long-term stable operation.
Voltage Matching: Confirm that the timer supports the voltage of your area (e.g., 220V).
Timing Accuracy and Type: Mechanical timers are typically set in 15-minute or 30-minute increments. Choose the model that best suits your needs. For more precise control, a digital timer may be necessary.
Timer not working?
Check if the power is on, if the live and neutral wires are reversed, and if the load wire is connected to the correct output terminal.
New timer is noisy?
Mechanical timers make a slight "ticking" sound when operating, which is normal. If the noise is excessive, it may be a product quality issue; consider replacing it.
Loose wire connection?
It must be tightened. Loose connections can overheat and pose a serious safety hazard.

Time setting: 15', 20', 30', 60', 100',120', 180' or customized (1-180min timer range)Applicable: Microwave/Oven/Electric Pressure Cooker/Kitchen Mach...
See Details
Time setting: 15', 20', 30', 60', 100',120', 180' or customized (1-180min timer range)Applicable: Microwave/Oven/Electric Pressure Cooker/Kitchen Mach...
See Details
Time setting: 15', 20', 30', 60', 100',120', 180' or customized (1-180min timer range)Applicable: Microwave/Oven/Electric Pressure Cooker/Kitchen Mach...
See Details
Time setting: 15', 20', 30', 60', 100',120', 180' or customized (1-180min timer range)Applicable: Microwave/Oven/Electric Pressure Cooker/Kitchen Mach...
See Details
Time setting: 15', 20', 30', 60', 100',120', 180' or customized (1-180min timer range)Applicable: Microwave/Oven/Electric Pressure Cooker/Kitchen Mach...
See Details
Time setting: 15', 20', 30', 60', 100',120', 180' or customized (1-180min timer range)Applicable: Microwave/Oven/Electric Pressure Cooker/Kitchen Mach...
See Details
Time setting: 15', 20', 30', 60' or customized (such as 90 min)Applicable: Oven/Electric Pressure Cooker/Kitchen MachineContact capacity: AC 120V 15A;...
See Details
Time setting: 15', 20', 30', 60' or customized (such as 90 min)Applicable: Oven/Electric Pressure Cooker/Kitchen MachineContact capacity: AC 120V 15A;...
See Details
Time setting: 15', 20', 30', 60' or customized (such as 90 min)Applicable: Oven/Electric Pressure Cooker/Kitchen MachineContact capacity: AC 120V 15A;...
See DetailsCopyright ? JIANGSU SHALONG MECHANICAL & ELECTRICAL TECHNOLOGY CO.,LTD. All Rights Reserved.
Custom Metal Mechanical Timers Supplier


