Ovens are essential appliances in modern kitchens, and oven timers, as one of their core components, are responsible for controlling cooking times and ensuring food comes out perfectly cooked. However, as oven timers age, they may develop various problems, such as not counting, not rotating, or not sounding, which can affect normal use. When these problems occur, it's crucial to master the removal and replacement procedures for oven timers.
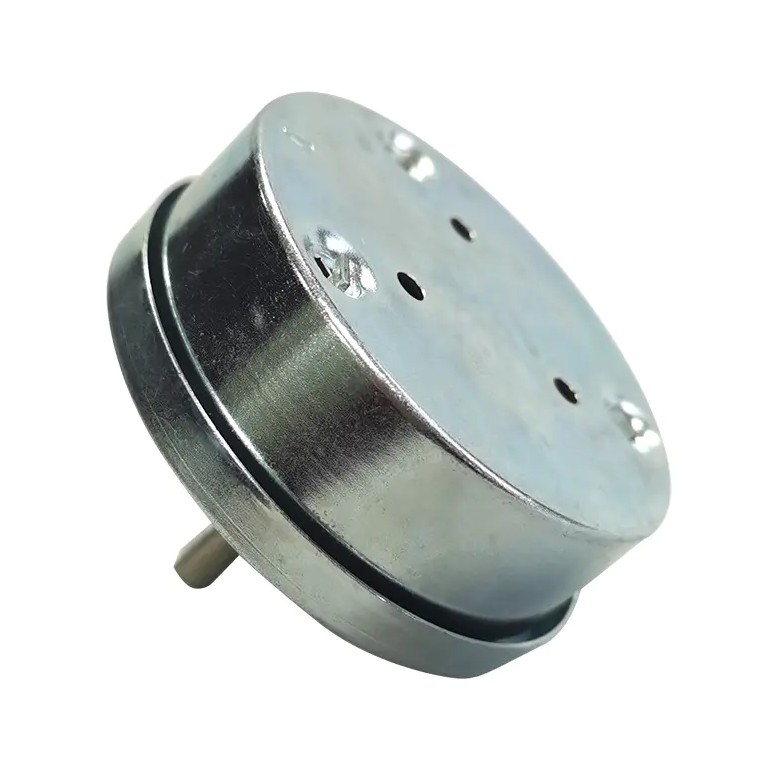
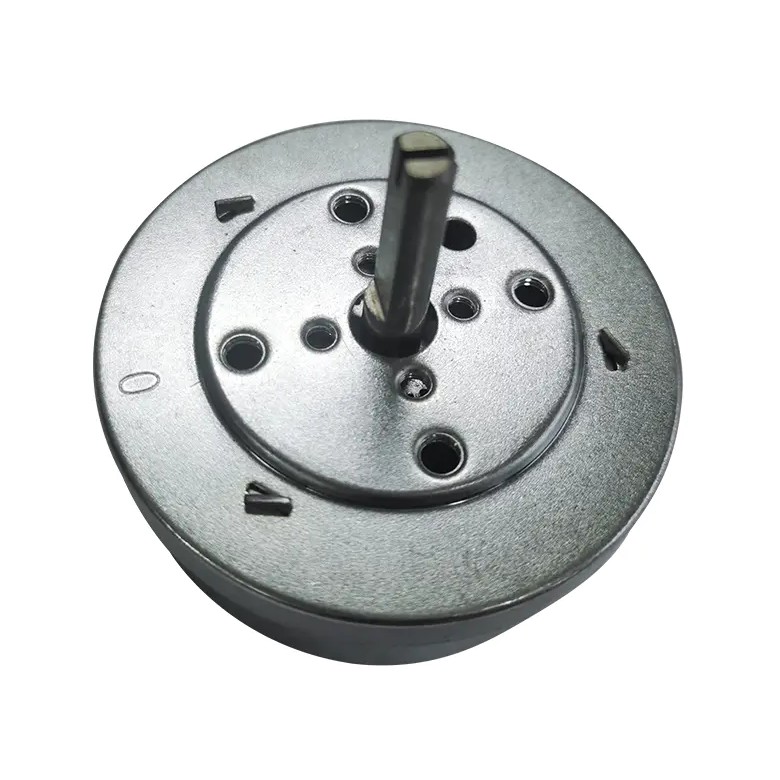
Before beginning disassembly, first confirm your oven model and the type of oven timer used. Oven timers on the market are primarily categorized as mechanical and electronic. Mechanical oven timers are driven by a spring, have a relatively simple structure, and typically make a ticking sound. Electronic oven timers, on the other hand, are controlled by a circuit board, display a countdown, and offer more precise and versatile functions.
Disassembly Procedure: Safety First
Before any repair, safety is always paramount. Ensure your oven is completely disconnected from the power cord by unplugging it or turning off the main power switch. This is to prevent electric shock during operation.
Removing the Knob and Panel: Most oven timers have knobs that can be removed by simply pulling them out. If there are screws underneath the knob, use a screwdriver to remove them. Next, locate and remove the screws securing the control panel, carefully removing the panel.
Locate and Disconnect: Once the control panel is removed, you can access the internal structure of the oven timer. It typically connects to the oven's internal circuitry via several terminals. Before disconnecting, take a photo with your phone to record the location of each wire to prevent misconnections when installing the new timer.
Removing the Timer: Oven timers are typically secured to the panel with screws or clips. Remove the old oven timer from the panel by removing the retaining screws with a screwdriver or depressing the clips with a tool.
Replacing and Installing: Replacement of Old with New
Choosing the Right Replacement: When purchasing a new oven timer, be sure to select one that is compatible with your oven model. It's best to purchase based on the model number or code on the old timer to ensure that the new timer matches the old one in terms of size, connections, and functionality.
Installing the New Timer: Place the new oven timer into the panel and secure it with screws or clips. Then, connect all wires accurately to the corresponding terminals on the new timer, as shown in the photos you took earlier.
Reassembly: After carefully checking that all connections are secure, reinstall the control panel onto the oven, tighten the screws, and finally replace the knob.
Testing and Maintenance
After the replacement is complete, reconnect the oven to the power supply and perform a functional test. Ensure that the oven timer is functioning properly, accurately counting time, and that the alarm is functioning properly.
To extend the life of the oven timer, avoid excessive force on the knob during daily use. Clean the oven exterior regularly to keep it dry and tidy.
Following the above steps, you can easily remove and replace the oven timer, restoring your oven to normal operation and continuing to enjoy your cooking adventures.


 English
 中文简体
中文简体


