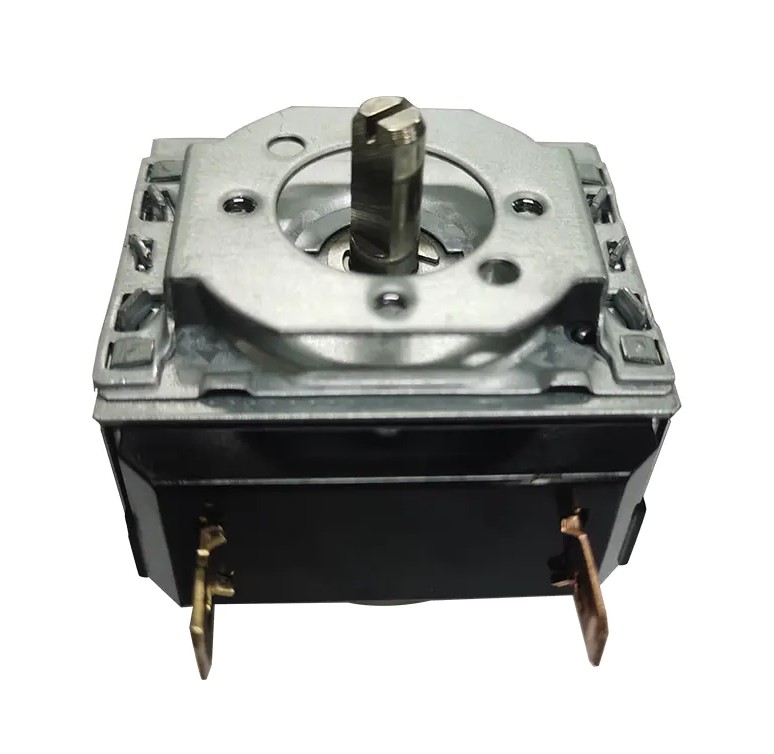
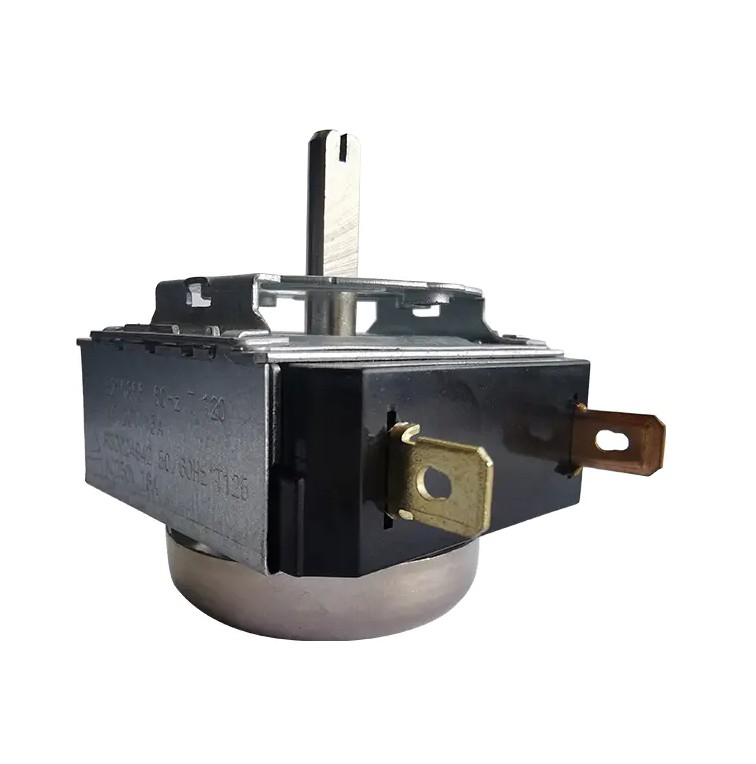
A countertop oven's mechanical timer typically consists of a series of tiny, delicate gears and springs. These are subject to constant friction with daily use, which gradually wears out over time, and the lubricant can dry out or lose its effectiveness. This can cause increased resistance when the timer rotates, resulting in a grating sound, or even complete inability to function properly. Regular lubrication of the mechanical timer can effectively reduce friction, extend its lifespan, and ensure accurate timekeeping.
Detailed Steps for Lubricating a Mechanical Timer
1. Prepare Tools and Lubricant
Before beginning, disconnect the oven from the power source for safety. You will need the following tools and materials:
- Lubricant: Choose a lubricant or grease designed for precision machinery or clocks, such as silicone oil or white lithium-based grease.
- Screwdriver: For disassembling the oven casing and control panel.
- Tweezers or cotton swabs: For precise application of lubricant.
- Cleaning cloth: For wiping away excess lubricant and dirt.
2. Disassembling the Oven and Timer
Locate and remove the screws securing the oven casing, then carefully remove it to expose internal components. Next, remove the screws holding the mechanical timer and gently take it out, avoiding damage to the connecting wires.
3. Cleaning and Lubrication
Inspect the internal structure of the mechanical timer. Clean dust or dirt with a cotton swab. Using tweezers or a swab, apply a small amount of lubricant to the gears, bearings, and spring. Turn the timer knob manually to distribute lubricant evenly.
4. Reassembly and Testing
Reinstall the mechanical timer and oven casing in reverse order of disassembly. Turn on the power and test whether the mechanical timer operates smoothly and without unusual noises.
Preventive Maintenance: Extending the Life of a Mechanical Timer
- Avoid forceful use: Do not force the timer knob if it is stuck.
- Keep it clean: Avoid oil and moisture entering the oven to prevent corrosion.
- Regular inspection: Check for unusual noises and lubricate promptly.
Proper lubrication and maintenance will ensure your countertop oven's mechanical timer provides long-lasting, reliable service, making every cooking session easier and more precise.


 English
 中文简体
中文简体


